
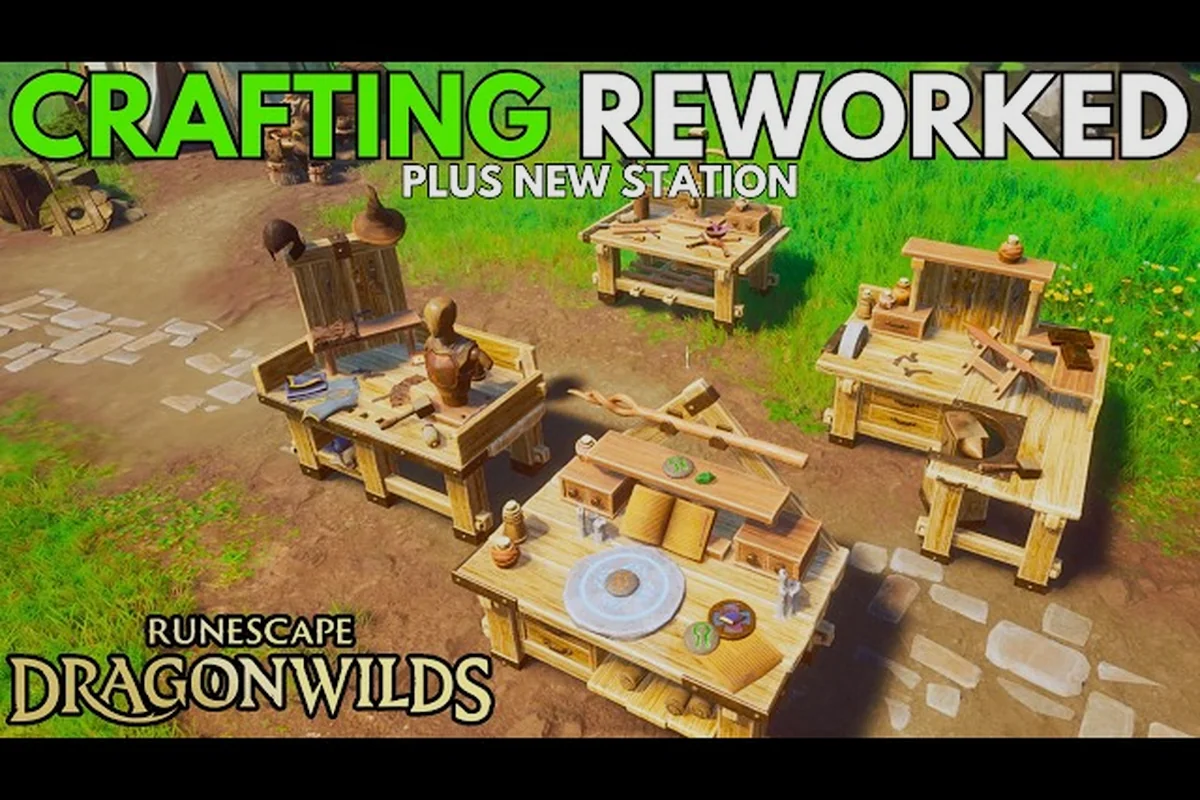
Crafting a RuneScape: Dragonwilds runite bar sits at the top of the smithing food chain, and every bar above it — bronze, iron, steel, mithril, adamant, and runite itself — feeds straight into the same pipeline of ore nodes, coal veins, and forge heat. The Umbral Sands rework rebuilt crafting around three benches, with the smithing forge and anvil handling bars and melee gear, so the path to that runite ingot is a clean progression of runescape dragonwilds ore locations from the southern starter flats to the deepest volcanic veins. This guide maps every node you need, ranks each tier by yield and danger, and gives you a smelting plan that turns scattered rocks into endgame gear without burning hours on the wrong rock.
Runite Bar Smelting Pipeline and Material Flow
Every runite bar you pull off the anvil starts six tiers earlier, because the smithing math in RuneScape: Dragonwilds uses cumulative bar recipes. A runite bar needs 1 runite ore plus 4 coal, but you cannot reach runite ore without first passing through copper, tin, iron, coal, mithril, and adamant — each tier unlocks the next pickaxe tier, which in turn opens the next vein. According to the official Umbral Sands patch notes, the smithing forge and anvil were rebuilt so each bench covers an entire gear family, meaning a single forge handles everything from bronze to runite once you unlock the recipe line.
The pipeline therefore doubles as a progression tracker: every ore tier you clear is also a gate to the next pickaxe, and every pickaxe gate is also a Smithing level check. The table below summarizes the six bar tiers, the ore mix each bar consumes per craft, and the minimum Smithing level you need before the recipe even shows up at the anvil.
| Bar Tier | Ore / Coal Cost per Bar | Min Smithing Level | Pickaxe Needed |
|---|---|---|---|
| Bronze | 1 copper + 1 tin | 1 | Stone Pickaxe |
| Iron | 1 iron ore | 15 | Copper Pickaxe |
| Steel | 1 iron + 2 coal | 30 | Iron Pickaxe |
| Mithril | 1 mithril + 4 coal | 55 | Steel Pickaxe |
| Adamant | 1 adamant + 6 coal | 75 | Mithril Pickaxe |
| Runite | 1 runite + 4 coal | 90 | Adamant Pickaxe |
Two numbers are worth memorizing before you set out. First, the runite bar is the only top-tier bar in the current 1.0 build that costs 4 coal rather than 6, which makes coal farming slightly less punishing once you reach the volcanic zone. Second, every bar tier above bronze also gates the next Pickaxe recipe, so falling behind on Smithing means falling behind on Mining, which means your next ore node stays locked.
Why the Smithing Forge Lives at the Center of the Chain
The Umbral Sands rework deliberately tied the forge to melee gear so that one station carries your whole weapon and armor career. You smelt the bar at the forge, then walk two tiles to the anvil to shape it into a weapon or plate. Skipping the forge and trying to smelt at the anvil does not work — the forge is the only block that converts raw ore and coal into bars.
That single-station design also means your base layout matters. A good smithing hall pairs the forge, the anvil, and a coal chest within arm's reach, so you can queue a run of bars without crossing the room. Players who skip this layout lose minutes per craft session to inventory shuffling, which compounds across the hundreds of bars the runite tier demands.
Runescape Dragonwilds Ore Locations by Tier
The runescape dragonwilds ore locations spread across five climate bands in Ashenfall, and the climate you are in dictates which tier you can farm safely. The southern Embervale flats and the riverbanks around New Varrock are starter territory with copper, tin, and iron. The mid-tier branches of the Whistling Mountains carry coal and mithril. The volcanic Vrax Caldera and the Brimhaven Crags hold adamant and runite.
A practical rule of thumb: ores spawn in clusters of 3-5 nodes within a 40-meter radius, and each node has a 3-5 minute respawn timer after it is mined dry. That means a good farming run never stops at one node — you bounce between two or three nearby clusters so the first one respawns while you finish the second.
For reference on the exact smelting ratio, the official walkthrough embedded in the RuneScape Dragonwilds runite bar guide video confirms that two runite ore and one coal are required per smelt.
Starter Tier: Copper, Tin, and Iron
The runescape dragonwilds how to farm copper route is the simplest because copper veins line almost every riverbank in Embervale. Walk south from the spawn plateau until you hit a stream, then follow the bank — you will see the orange-veined copper nodes every 20-30 meters. Tin spawns on the dry ridgelines above those same streams, so a single loop can fill both bars of a bronze recipe.
The runescape dragonwilds tin ore location question has a short answer: tin clusters sit on the rocky shoulders above the Embervale rivers, typically 50-100 meters uphill from the nearest copper node. The two ores almost never share a spawn tile, so treat them as paired nodes rather than a single rock.
Iron is the first real gate. The runescape dragonwilds how to get iron ore path requires a Copper Pickaxe (Smithing level 5) and leads you into the Ironback Ridge north of the Embervale basin. The ridge has the densest iron concentration in the starter zone, with 4-5 nodes per cluster and a tight respawn window. Mining iron is also the first time the game warns you about elevation-based mob spawns, because Ironback Ridge borders the western drake patrol route.
| Starter Ore | Best Farming Zone | Cluster Size | Respawn Timer | Notes |
|---|---|---|---|---|
| Copper | Embervale riverbanks | 4-5 nodes | 3-4 min | Closest to spawn plateau |
| Tin | Ridgelines above rivers | 3-4 nodes | 4-5 min | Always uphill from copper |
| Iron | Ironback Ridge | 4-5 nodes | 3-4 min | Drake patrols nearby at night |
Mid Tier: Coal, Gold, and Mithril
The runescape dragonwilds coal location sits in the Whistling Mountains, specifically the mid-slope band between the Ironback Ridge and the snow line. Coal nodes are visually distinct — black veins with a slight glow that pulses in the dark — and they tend to cluster near cliff faces where erosion exposes the seam. Community data from the Umbral Sands beta suggests a yield of 6-10 coal per node, which is double the per-node yield of copper or tin.
Gold is a side-grade rather than a main-pipe ore. The runescape dragonwilds gold ore location is a single vein cluster in the Sunken Quarter ruins east of the Whistling trailhead, and it is the only place gold reliably spawns in 1.0. Gold is not part of the smithing progression for bars, but it funds the runite-tier forge upgrades, so treat it as currency rather than crafting material.
Mithril unlocks at Smithing 55 and requires a Steel Pickaxe. The ore spawns in the upper Whistling Mountains, typically above the 200-meter contour line on the official topographic map. Mithril nodes are sparse — 2-3 per cluster — but each one yields 4-6 ore, and the respawn timer stretches to 5-6 minutes, so plan for a long stay rather than a quick loop.
Endgame Tier: Adamant and Runite
The Vrax Caldera is the only reliable source for adamant and runite in the current 1.0 build. Adamant veins cluster on the inner caldera walls, runite on the central plateau near the lava falls. Both ores require a Mithril Pickaxe or better, and both are guarded by brimstone drakes that aggro on mine sounds above level 30 heat.
Runite nodes are the rarest spawn in the game. Community testing on the 0.12.1 patch notes reported a node density of roughly 1-2 per 100-meter radius, with a 6-8 minute respawn. That is why a runite bar is the endgame currency it is — the math only works if you commit to a long Caldera stay rather than a quick trip.
| Endgame Ore | Zone | Density | Min Pickaxe | Threat Level |
|---|---|---|---|---|
| Adamant | Vrax Caldera walls | 3-4 per cluster | Mithril | Brimstone drakes (level 45) |
| Runite | Vrax central plateau | 1-2 per cluster | Adamant | Lava drakes (level 60) |
Players who chain a runite grind with the smithing and leather crafting overview save a separate run, because adamant is also the precursor to hard leather gear and the route up the caldera doubles as the route to the soft animal fur hunting grounds below.
Smelting Tier by Tier: From Bronze to Runite
Smelting is the bridge between Mining and Smithing, and the bridge has its own progression rules. The forge has three heat stages — low, medium, and high — and each bar tier requires a matching heat. Trying to smelt iron at low heat yields a "failed bar" that consumes the ore but produces nothing, which is the most common mistake new smiths make.
Bronze and Iron: The First Forge Hours
Bronze is the forgiving tutorial tier. You need 1 copper plus 1 tin per bar, the forge runs at low heat, and the smelt takes 8 seconds. The community-reported optimal loop is to smelt 10-20 bars in a single forge session, then shift the excess into a chest rather than auto-banking, because inventory space fills up faster than ore nodes respawn.
Iron needs the forge at medium heat and 1 iron ore per bar with no coal. That makes iron the cheapest mid-tier bar to produce but also the bar you should not over-stock, because steel and mithril both require iron as a base material. A good rule is to keep 30-40 iron bars in storage at any time — enough to cover a steel batch plus repair stock.
Steel, Mithril, Adamant, and Runite
Steel adds 2 coal per bar, mithril jumps to 4 coal, adamant to 6 coal. Runite drops back to 4 coal, which softens the coal grind once you finally reach it. The forge heat climbs with every tier: steel needs medium, mithril and adamant need high, and runite needs the volcano forge variant that only spawns in the Vrax Caldera itself.
The volcano forge is one of the reasons players return to the caldera after their first runite haul. A standard high-heat forge cannot sustain a runite smelt — the bar cools below the 90 Smithing threshold and fails. The volcano forge has a built-in heat retention buff that holds temperature for 12 seconds, which is the exact window for a runite bar. Bringing portable heat sources is not an option, so the caldera forge is a hard requirement.
Players who plan ahead also pair their runite trips with a rune essence farming run because the Umbral Sands rework placed rune essence nodes in the same volcanic band, and the Smelting and Runecrafting trips share a single Caldera commute.
Efficient Farming Routes and Smelting Plans
A clean farming route is a loop, not a sprint. The best ore runs in RuneScape: Dragonwilds alternate between two or three nearby node clusters so the respawn timer works in your favor while you travel. A bad route is a one-way sprint to the densest node — you mine it dry, then wait four minutes for it to respawn, which is dead time.
Route 1: The Embervale Bronze Loop (Levels 1-15)
Start at the spawn plateau, drop south to the Embervale river, and follow the bank east for 200 meters. You will pass 3-4 copper clusters and 2 tin clusters along the way. Mine copper on the way out, tin on the way back, smelt bronze at the nearest forge, and repeat. The full loop takes 6-8 minutes and yields 30-40 bronze bars per cycle.
Route 2: The Ironback Steel Push (Levels 15-35)
Teleport to the Ironback Ridge camp, then run north along the ridge spine. You will hit 5-6 iron clusters and 2 coal outcrops in a 300-meter stretch. Bank the iron, smelt steel on-site if the camp forge is upgraded, otherwise carry the ore back to a base forge. The route takes 10-12 minutes and yields roughly 25-30 steel bars per cycle, with 40-50 coal as a side harvest.
Route 3: The Whistling Mithril Sweep (Levels 35-60)
The Whistling Mountains mithril band requires a careful pace because the elevation climb slows movement by 15%. Start from the Whistling trailhead, climb to the 200-meter contour, and work a 400-meter arc that covers 4-5 mithril clusters and a guaranteed coal vein. The loop is 15-18 minutes, yields 15-20 mithril bars per cycle, and is the first route where players should bring a mount — the magic carpet mount guide is worth checking for the elevation speed bonus.
Route 4: The Vrax Caldera Runite Push (Levels 75+)
The caldera route is a multi-day commitment. The recommended pattern is to stage a forward camp inside the caldera walls, with a portable forge and a coal chest, then sweep the central plateau in 2-3 hour shifts. Each shift yields 10-15 runite bars and 30-40 adamant bars as a side product. The brimstone drakes respawn on a 10-minute cycle, so the optimal cadence is mine-runite, smelt-runite, evade-drake, repeat.
| Route | Tier | Cycle Time | Yield per Cycle | Risk Profile |
|---|---|---|---|---|
| Embervale Bronze | 1-15 | 6-8 min | 30-40 bars | Low |
| Ironback Steel | 15-35 | 10-12 min | 25-30 bars | Medium (drakes) |
| Whistling Mithril | 35-60 | 15-18 min | 15-20 bars | Medium (cold) |
| Vrax Caldera Runite | 75+ | 2-3 hours | 10-15 bars | High (lava drakes) |
Players who run these loops in co-op also benefit from the cross-platform co-op setup guide because a four-player fire team can split roles — one mine-runite, one smelt-runite, one scout-drakes, one bank — which roughly doubles the per-hour yield compared to solo.
Smelting Optimization and Common Pitfalls
Smelting is deceptively simple — drop ore in the forge, wait, pull the bar — but the optimization layer is where experienced smiths save hours per week. The biggest gains come from heat management, batch size, and inventory routing rather than faster clicking.
Heat Management and Forge Upgrades
The forge has three heat stages and each bar tier locks to a stage. The mistake players make is upgrading the forge past the tier they are currently smelting, because higher heat stages consume more coal per minute. The optimal pattern is to keep the forge at the lowest heat that supports your current bar tier, and only upgrade when you push into the next tier.
Volcano forge placement is the second optimization layer. The Vrax Caldera volcano forge cuts smelt time on runite from 12 seconds to 8 seconds, which is a 33% throughput gain. If your forward camp sits more than 60 seconds from the forge, the travel time eats the smelt-time gain, so build the camp close to the volcano forge, not at the caldera edge.
Batch Size and Inventory Routing
Batch smelting has a hidden cost: the forge has a 4-bar queue, and a full queue blocks the next batch. The best practice is to smelt in 3-bar batches so the queue clears before the fourth ore arrives, which keeps the forge hot without idle seconds. Larger batches work for mithril and adamant because those tiers have longer smelt times, but bronze and iron are fastest in 3-bar cycles.
Inventory routing matters because every ore node run ends at a forge, not a bank. Players who smelt on-site save the bank round-trip but risk losing bars if the forge is destroyed by a mob. The safe play is to smelt on-site for the first 60% of the run, then bank the final 40% at the base forge where mob risk is lower.
Endgame Runite Bar Use and Smithing Progression
A runite bar is the apex crafting material in 1.0, and the only gear family it unlocks is the runite melee set — full plate, longsword, and tower shield. The set sits at item level 90 and is the only gear that clears the Brimstone Drake lair on hard mode, which is the soft endgame gate for the current build.
The smithing progression after runite branches into two paths. The first is the master smithing questline, which unlocks the rune altar and a separate runecrafting track on the runecrafting training overview. The second is the dragon forging questline, which opens a recipe to reforge runite into dragon-tier bars (not yet in 1.0 but expected in the first post-launch content patch according to the official news page).
Players who hit the runite ceiling should also know that the Umbral Sands rework tied runite smelting to the Luminance event track, so weekly runite quotas are part of the long-term progression loop rather than a one-time grind. That is why a stable Caldera camp is more valuable than a single 100-bar sprint — the camp is the infrastructure for months of endgame play, not just a one-trip haul.
Frequently Asked Questions
What is the fastest way to get a runite bar in RuneScape: Dragonwilds?
The fastest path is to rush Smithing to 90 by chaining the Ironback steel push, then the Whistling mithril sweep, then a single Vrax Caldera runite trip with a forward camp. The full chain takes 4-6 hours of focused play, and the final step requires the volcano forge inside the caldera because a standard forge cannot hold the heat long enough for a runite smelt.
Where is the best runescape dragonwilds coal location for runite bars?
The Whistling Mountains mid-slope is the best pre-caldera coal farm, with 6-10 coal per node and tight respawn. Once you reach the Vrax Caldera, the inner walls have smaller coal outcrops that supplement the runite grind without forcing a return to the lower zones, which is useful because the lava drakes punish long travel paths.
Can I smelt runite at a base forge or do I need the volcano forge?
You need the volcano forge. The standard high-heat forge cools below the 90 Smithing threshold during the 12-second runite smelt window, which produces a failed bar. The volcano forge has a built-in heat retention buff that holds the smelt temperature for the full duration, and it is the only forge variant in 1.0 that supports runite.
How much coal do I need per runite bar?
Each runite bar consumes 4 coal plus 1 runite ore, which is lower than adamant at 6 coal per bar. Plan for roughly 200-240 coal per 50-bar runite batch, plus another 60-80 coal for the adamant precursor bars in the same Caldera stay.
Do co-op players share ore nodes or compete for them?
Co-op players share node spawns in the same cluster, so a four-player team can clear a 4-node adamant cluster in one sweep rather than fighting over it. The yield per player drops because the nodes are shared, but the per-hour gain is still 1.8-2.0x solo because the team can cover more ground and split the drake scout role.