Bosses
RuneScape: Dragonwilds boss guide: Velgar, Imaru, Zamorak, Fuzan and Kuldra, with vault access gates, Fight Cave tips and reward breakdowns.
Introduction
RuneScape: Dragonwilds builds its combat spine out of vaults. Every major region hides one, and each vault is guarded by a named boss, so progression reads as a list of regions and the fights waiting at the end of them. Community guides place Velgar in Ashenfall, Imaru in Fellhollow, Zamorak in Dowdun Reach and the young dragon Fuzan in Umbral Sands, with the Dragon Queen Kuldra closing the 1.0 storyline as the final boss of the Scorned Wilderness raid. Those pairings come from community walkthroughs rather than an official table, so treat them as the current consensus rather than a fixed law. The structure matters more than the names: bosses are not pure damage checks, and the raids punish open layouts where players spread out and storage rooms sit undefended. Dragons also roam the world from the very first hour, which means the hardest enemy in a session is often not in a vault at all.
Vault Bosses, Access Gates and Rewards
| Boss | Region and Vault | Access Gate | Rewards Worth Chasing |
|---|---|---|---|
| Velgar | Ashenfall, Wrath of Velgar | Open the Ashenfall vault, per community guides | Early upgrade materials and Ascension Core components |
| Imaru | Fellhollow, Hunger of Imaru | Reach Fellhollow through Stormtouched Highlands | Mid game gear and vault loot from the first real wall |
| Zamorak | Dowdun Reach, Madness of Zamorak | Dowdun Reach raises level caps and opens the vault | The Zamorak cape and staff, plus high tier materials |
| Fuzan | Umbral Sands, young dragon | Clear the desert Fight Cave before the fight | Desert materials and dragon loot from an open arena |
| Kuldra | Scorned Wilderness raid | Finish the Kuldra's Saga storyline first | 1.0 raid finale rewards and the Dragon Queen clear |
Fight Order and Boss Breakdown
Velgar
The Ashenfall vault boss and the fight most players meet first, sitting behind the Wrath of Velgar trial in the starting continent.
Imaru
Fellhollow's vault guardian, reached after the Stormtouched Highlands and treated as the game's first genuine difficulty wall.
Zamorak
The Dowdun Reach vault boss behind the Madness of Zamorak, tied to a cape and staff that players actively farm for.
Fuzan
A young dragon ruling Umbral Sands, locked behind the desert Fight Cave and fought out in the open rather than a closed vault.
Kuldra
The Dragon Queen and God-Eater, final boss of the Scorned Wilderness raid and the close of the Kuldra's Saga storyline.
The Fight Cave
A repeatable desert challenge that gates access to Fuzan while doubling as one of the better rare material farms.
Core Mechanics
Vault bosses work as gates. To reach one you usually have to open its vault, and in the desert case you must clear the Fight Cave first, a repeatable wave challenge that also drops rare materials. That structure means a boss attempt is the final step of a chain rather than a standalone arena you queue into from a menu. Once inside, the fights lean on distinct mechanics instead of sheer health pools: stamina management, parry and dodge timing, and reading a wind up before it lands. The 0.12.1 update reworked Stamina, Parry, Dodge and animation cancelling specifically to make that layer feel less clunky, so advice written before that patch may not match what you see today. Raids add a second layer on top, because open layouts and split groups are the failure state the Scorned Wilderness encounter is built to punish, and roaming dragons keep the same pressure present everywhere else on the map.
Advantages
A region and boss structure is easy to plan around. You always know roughly where you stand in progression, because the next vault tells you which region to explore and which materials to gather for it. Bosses also give the survival loop a destination: the ore you mine, the food you cook and the potions you brew all exist to get you through a specific door. Drops from vaults and the Fight Cave are the main source of upgrade materials that crafting alone cannot produce, including Ascension Core tier components and the Power Level shards the Mystic Forge consumes. And because dragons roam openly from the very first hour, you get constant practice against the same enemy family the big fights are built from, so the instincts you develop hunting a roaming dragon transfer directly into a vault attempt.
Challenges
The same structure creates friction. Because bosses sit at the end of vault chains, a failed attempt can mean a long walk back through content you already cleared, and a corpse run while a dragon patrols the route is a common way to lose an evening. Raid content is the sharpest edge: the Scorned Wilderness encounter rewards coordination, so solo players and pickup groups hit a wall that better gear alone will not solve. The named boss pairings in this guide also come from community walkthroughs rather than an official table, so a patch can rework a fight and leave older advice stale. Progression gating is another trap, since Fuzan requires a Fight Cave clear and the 1.0 raid asks you to finish Kuldra's Saga first, which is easy to miss if you beeline straight for combat and skip the questline.
Frequently Asked Questions
How many bosses are in RuneScape: Dragonwilds?+
What is the hardest boss in Dragonwilds?+
Do bosses respawn?+
How do I beat the Scorned Wilderness raid?+
Quick Tips
Repair and restock before every vault attempt, not after the first failure. A boss run is the one place in Dragonwilds where a weapon breaking or a food stack running dry decides the outcome, and the walk back through cleared content is long enough that you will not want to repeat it. Check durability, top up Anima, cook fresh food and confirm you have the rations for a second phase. The few minutes at your base cost far less than a corpse run through a region where a dragon is still patrolling your route.
Learn the fight against a roaming dragon first. The same enemy family that guards regions also wanders the open map from the start of the game, which makes it a free training partner. Practice your dodge, parry and stamina rhythm on an ordinary dragon before you spend a vault key, because the boss versions use the same tells at higher pressure. Players who treat roaming dragons as a nuisance and avoid them arrive at their first vault with no timing practice and blame their gear for the result.
Bring a ranged answer even if you are a melee build. Several encounters described by community guides reward keeping distance, and the Fuzan fight in particular is fought in the open desert where standing still is punished. A bow or a staff in a spare slot costs you nothing but inventory space and gives you a way to keep damage flowing while you reposition. It also lets you pull a wave or a pack apart instead of fighting everything at once, which matters enormously in the Fight Cave.
Check the access gate before you travel. Bosses sit at the end of chains, so the run can be blocked by a requirement you have not met: the Fight Cave must be cleared before Fuzan, Dowdun Reach opens Zamorak's vault, and the 1.0 raid asks you to finish Kuldra's Saga first. Players who beeline for combat content often arrive at a locked door with a full inventory and no plan. Read the gate, do the prerequisite quest or challenge, then travel once with everything you need.
Do not store your raid supplies in an open base. The Scorned Wilderness encounter and roaming dragons both punish undefended layouts, and the community's base advice is consistent: keep storage centralised behind walls and split crafting into its own room so one breach does not wipe out every bench. If you are staging for a raid, keep the food, potions and repair materials you need in a chest near the entrance rather than scattered across the build. A single bad night should cost you a wall, not a season of gathered materials.
Featured

RuneScape: Dragonwilds Bosses: Full List, Locations & Rewards
Conquer every RuneScape: Dragonwilds boss with a full list of encounters, where to find the Dragon Queen and Queen Kuldra, and the loot each fight drops.

RuneScape: Dragonwilds Final Boss: Fuzan, Velgar & Imaru Fights
Prepare for the RuneScape: Dragonwilds final boss showdown with boss-specific strategies for Fuzan, Velgar, and Imaru across every region.

RuneScape: Dragonwilds Vault Walkthrough: Dragonkin Cores & Loot
Crack every RuneScape: Dragonwilds vault including the Crasorak Kara and Stormtouched Highlands Dragonkin rooms, with ascendancy core spawns and boss drop tables.
All Articles
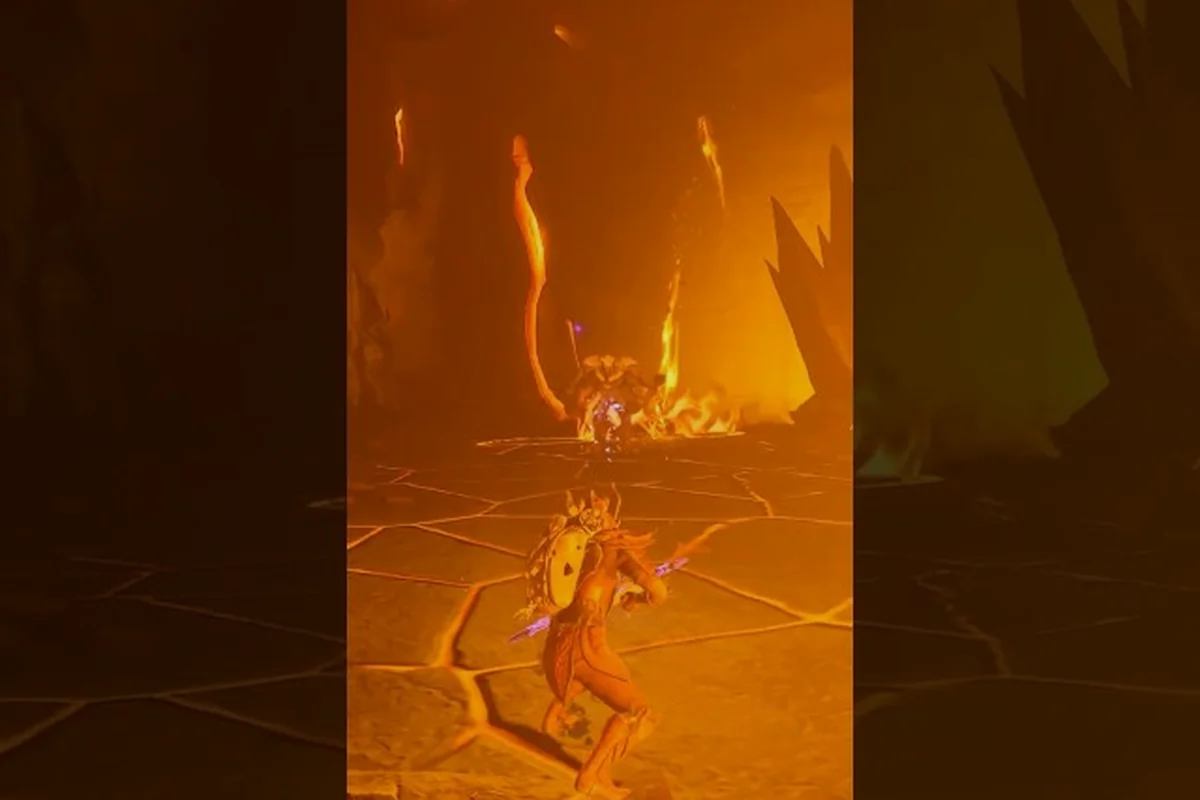
RuneScape: Dragonwilds Zamorak Boss: Fight Caves & Vault Loot
Conquer the RuneScape: Dragonwilds Zamorak encounter with Fight Cave and Scorned Wilderness raid strategies, vault locations, and the legendary drops waiting inside.
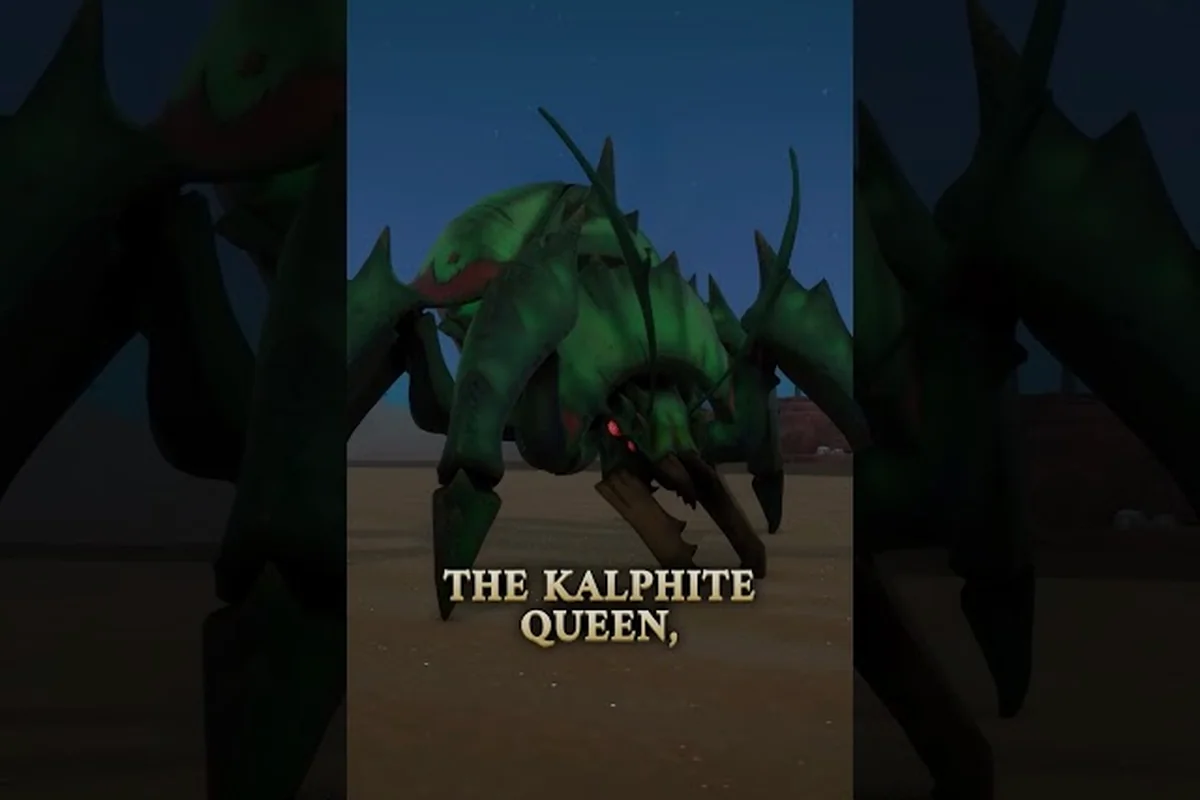
RuneScape: Dragonwilds Spectral Enemies: Weakness & Drop Tables
Break down every RuneScape: Dragonwilds spectral enemy with weakness charts, drop tables, respawn rules, and combat tips for surviving Umbral Sands.
RuneScape: Dragonwilds Green Dragon Location: Caves & Loot
Track down the RuneScape: Dragonwilds green dragon location across Stormtouched Highlands, learn the best cave routes, and collect dragonhide loot from every kill.
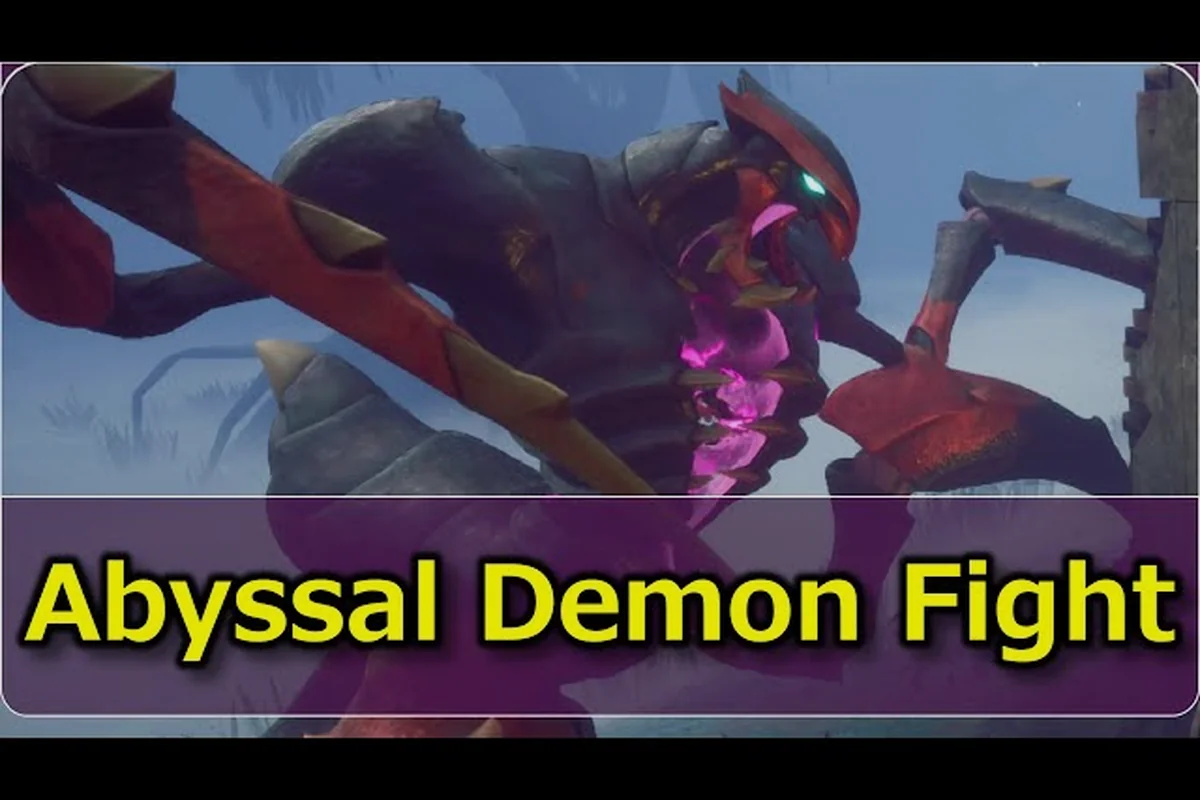
RuneScape: Dragonwilds Kalphite Boss: Queen, Kot Haar & Tok Xil
Face the RuneScape: Dragonwilds Kalphite Queen alongside Kot Haar and Tok Xil forms, plus Abyssal Demon and zombie fight strategies for each region.