
Gear
RuneScape: Dragonwilds gear guide: every weapon and armour tier from bronze to Runite, what each one costs to craft, and when it is finally worth upgrading.
Introduction
Gear in RuneScape: Dragonwilds is gated by material tier, not by class. There are no locked weapon roles, so the real question is never which class you picked but what you can actually mine, smelt, tan and assemble at the benches you have unlocked. Progression runs from bronze and iron starter tools through steel and Adamant to Runite at the top of the smithable line, while the ranged path climbs from basic bows to Yew and then Red Dragonhide sets. Above the crafted ladder sit the items you cannot make at all: Vestige uniques, Masterwork Whips, Fire Capes and the other challenge capes. That split matters when you plan a build, because a crafted set is a renewable resource you can replace after a bad death, while a unique drop is a lottery ticket tied to endgame content. The ranking below weighs raw stats, when you can realistically craft or earn each piece, and what it costs to keep repaired.
Gear Tiers by Material and Crafting Cost
| Tier | Gear Family | Where It Comes From | Why It Ranks There |
|---|---|---|---|
| S | Runite weapons, Masterwork Whips, Vestige uniques, Fire Cape | Endgame vaults, raids and Mystic Forge upgrades | Top raw stats plus unique effects no recipe can reproduce |
| A | Adamant weapons and armour, Red Dragonhide ranged sets | Smithing Forge and Fletching Bench after the mid game unlock | A repeatable power spike you can rebuild after losing a set |
| A | Umbral Sands desert gear | Desert region content added in the Umbral Sands update | Built for heat and sand hazards that starter sets simply ignore |
| B | Yew bows and staves, steel tier melee, crafted magic robes | Fletching Bench, Smithing Forge and Crafting Table | Clears early vaults but stalls hard against roaming dragons |
| C | Bronze and iron tools, basic leather armour, first wizard set | Starter crafting with ash logs and coarse thread | Cheap to replace, and the only option in your first hour |
Weapon and Armour Picks by Tier
Runite Gear
The top smithable material line, produced from Runite through the Smithing Forge once you have both the ore and the levels.
Masterwork Whip
A prestige one handed weapon in the whip family, prized for reach and for the sheer length of the grind it represents.
Vestige Uniques
Named drops that cannot be crafted at any bench, so the only route to one is clearing the content that drops it.
Fire Cape
A cape reward from the hardest combat challenges, chased as much for the flex as for the stat line it carries.
Adamant Weapons and Armour
The first tier that feels genuinely strong, and the set most players carry into their opening vault clears.
Red Dragonhide Ranged Set
The serious bow and crossbow armour line, aimed at players who would rather kite a dragon than trade hits with it.
Core Mechanics
Every piece of gear starts as a raw material and climbs a chain. Logs become planks and bows, ore becomes bars and then weapons or armour, hides become leather and then ranged sets, and cloth turns into robes and magic armour. Each step is tied to a station: the Crafting Table handles cloth, planks and intermediate parts, the Smithing Forge smelts ore and shapes metal, the Fletching Bench builds bows, arrows and bolts, and the Mystic Forge converts Power Level shards and Ascension Cores into high tier upgrades. The Umbral Sands update rebuilt these stations so a single bench now covers a whole gear family instead of one item type, which makes the chain easier to read but also means a missing bench blocks an entire tier at once. On top of crafting sits durability. Artisan levels cut durability loss, Magical Mending helps keep gear and structures intact, and repairing after every hard fight is far cheaper than replacing an Adamant set you cannot yet remake.
Advantages
A material tier system is genuinely friendly to new players. Because nothing is class locked, you can move from a bow to a staff to a whip without rerolling anything, and the gear you outgrow stays useful as backup or repair stock. Crafted tiers are renewable, so losing a set during a dragon attack costs ore and time rather than a rare drop you can never get back. The ladder is legible: bronze and iron carry you through the first hour, steel and Yew bows hold the mid game, Adamant is the first tier that feels strong, and Runite tops out what a forge can produce. Because the benches now cover whole families, one upgrade pass can outfit several slots at once. Capes and Vestige uniques then provide long term goals without invalidating everything below them, so a mid game set is never wasted effort.
Challenges
The cost side is where the system bites. Every tier jump multiplies the material requirement, so an Adamant or Runite set means a serious mining and smelting session before you can craft it, and losing one can cost an evening. Unique items swing the other way entirely: Vestige pieces, Masterwork Whips and cape rewards come from endgame vaults and raids, so your actual upgrade pace depends on luck and clear speed rather than effort alone. Repair and durability upkeep adds a steady drain, especially before Artisan levels reduce the loss. Red Dragonhide farming is the sharpest trap, because it puts you in front of dragons wearing exactly the gear you are trying to protect. Runite, Red Dragonhide and Blightwood also come from contested, dangerous places, so the best materials tend to be gathered while something is actively hunting you.
Frequently Asked Questions
What is the best weapon in RuneScape: Dragonwilds?+
How do I get Runite gear?+
Are Vestige items worth farming?+
When should I upgrade my armour?+
Quick Tips
Push your tools before your weapons. Pickaxes, hatchets and the other gathering tools are what unlock every material tier above you, so a bronze weapon with a good pickaxe beats the reverse every time. The pattern that works is to spend your first serious mining and smithing session on tools, then convert the surplus into the best armour you can make. Players who pour everything into a weapon early end up stuck in steel for far longer, because they cannot reach the ore that would carry them into Adamant and beyond.
Never vendor or scrap the tier below you. Deaths in Dragonwilds are frequent enough that a backup set is a genuine progression item, not clutter, and a vault attempt that goes wrong while your only weapon is on a corpse is a long walk back. Keep the previous tier in a chest near your respawn point so you can re-gear in seconds. The habit costs a little storage space and saves entire evenings, especially once you are working on Adamant or Runite, where replacing a lost set means a full mining session.
Plan your Red Dragonhide farm around your build, not your curiosity. The set is built for bows and crossbows, so it only pays off if ranged is your main damage. If you are a melee or magic player, the same hunting time is better spent on ore for the next metal tier. If you are committed to ranged, farm the hides in short sessions rather than one long trip, because you are fighting dragons in the gear you are trying to protect, and one bad pull can cost more hides than the trip produced.
Keep crafting stations close to storage and split them across rooms. The benches now cover whole gear families, which means a single fire can wipe out your ability to craft an entire tier. Community base advice is to give crafting its own room, centralise storage with linkable chests plus the Lumber Storage and Personal Chest unlocks, and never store every bar and hide in the same container you craft beside. A short walk between storage and forge is a much smaller cost than rebuilding after a raid breach.
Check what the next region demands before you spend on a tier. Each area raises the bar, and a set that feels comfortable in Ashenfall can be a liability in Dowdun Reach or the Umbral Sands desert, where the hazards are different rather than simply larger. Desert gear exists precisely because starter sets ignore heat and sand. Before a big trip, look at what the region throws at you, then decide whether your next crafting session should go into raw stats or into the specific protection the area expects.
Featured

RuneScape: Dragonwilds Best Gear Setup: Melee, Bows & Staffs
Build the strongest RuneScape: Dragonwilds gear setup by pairing top melee weapons, bows, staffs, and dual-wield combos for Dowdun Reach endgame content.
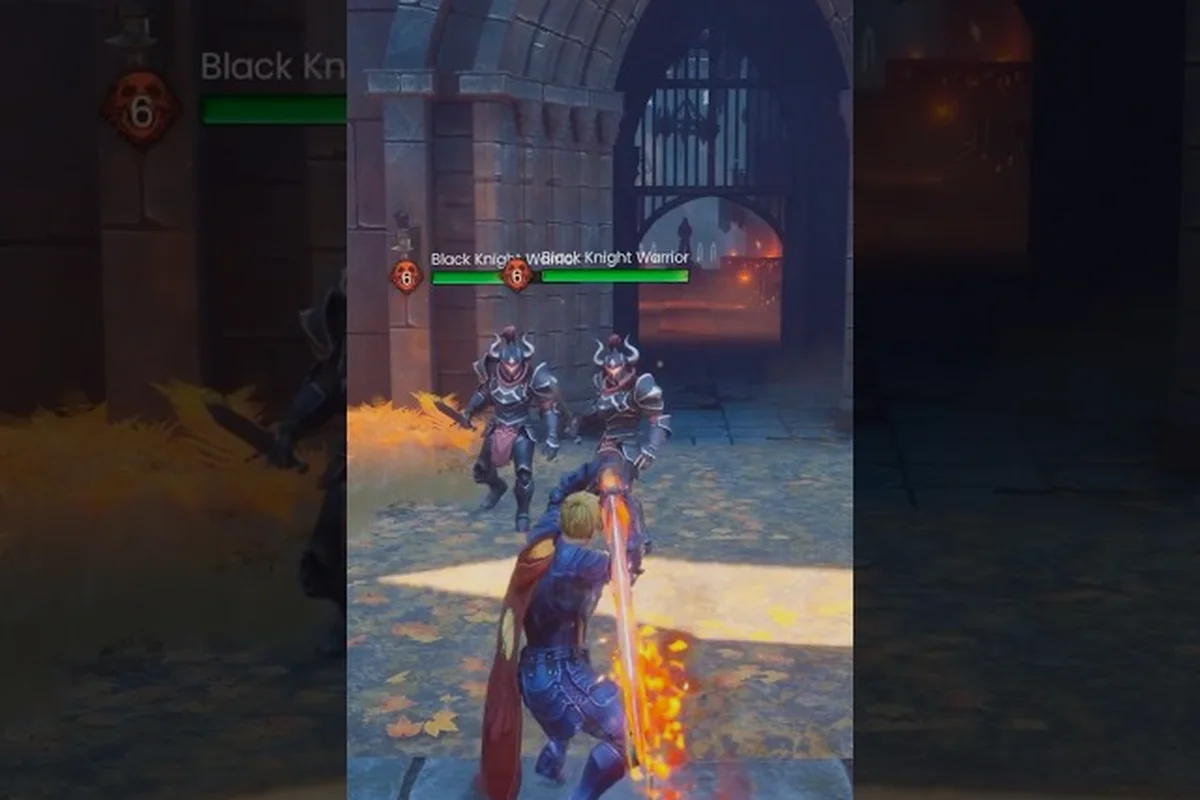
RuneScape: Dragonwilds Weapons: Full List, Tier List & Legend
Browse the full RuneScape: Dragonwilds weapons list, see a tier ranking of strongest melee and ranged picks, and chase the legendary weapons in Dowdun Reach.
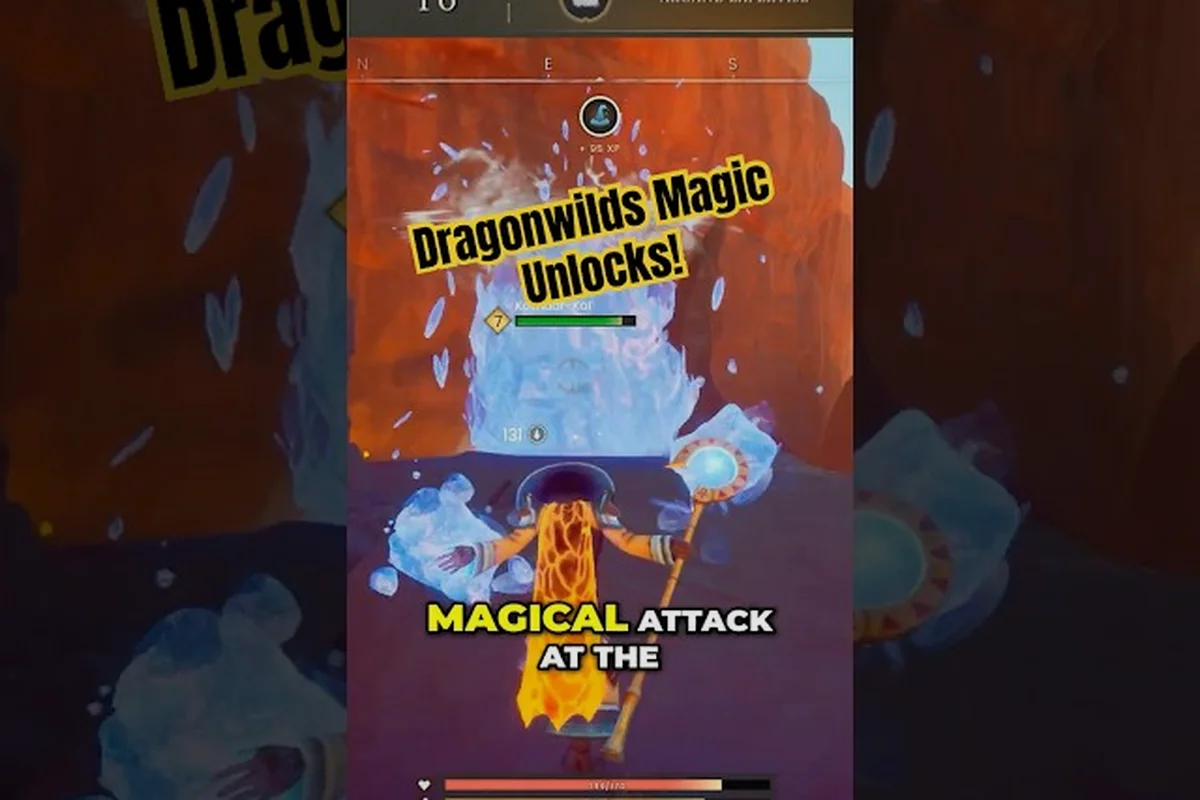
RuneScape: Dragonwilds Amulet of Magic: Gear & Tool Tiers
Explore the RuneScape: Dragonwilds amulet of magic alongside the Skills Necklace, compare jewelry tier upgrades, and climb the gear ladder for top magic builds.
All Articles
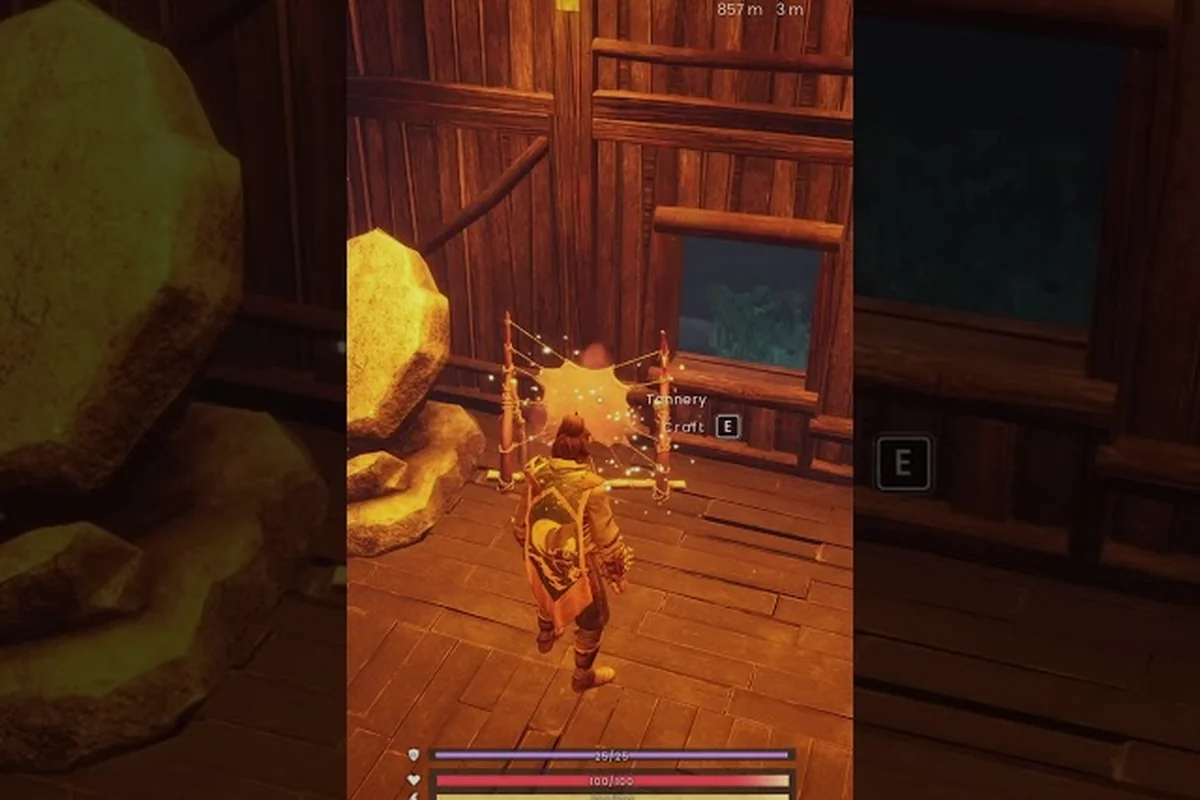
RuneScape: Dragonwilds Armor: Sets, Tiers & Progression
Browse the full RuneScape: Dragonwilds armor list, compare tier rankings from bone to rune, and follow a clear progression path for every playstyle.
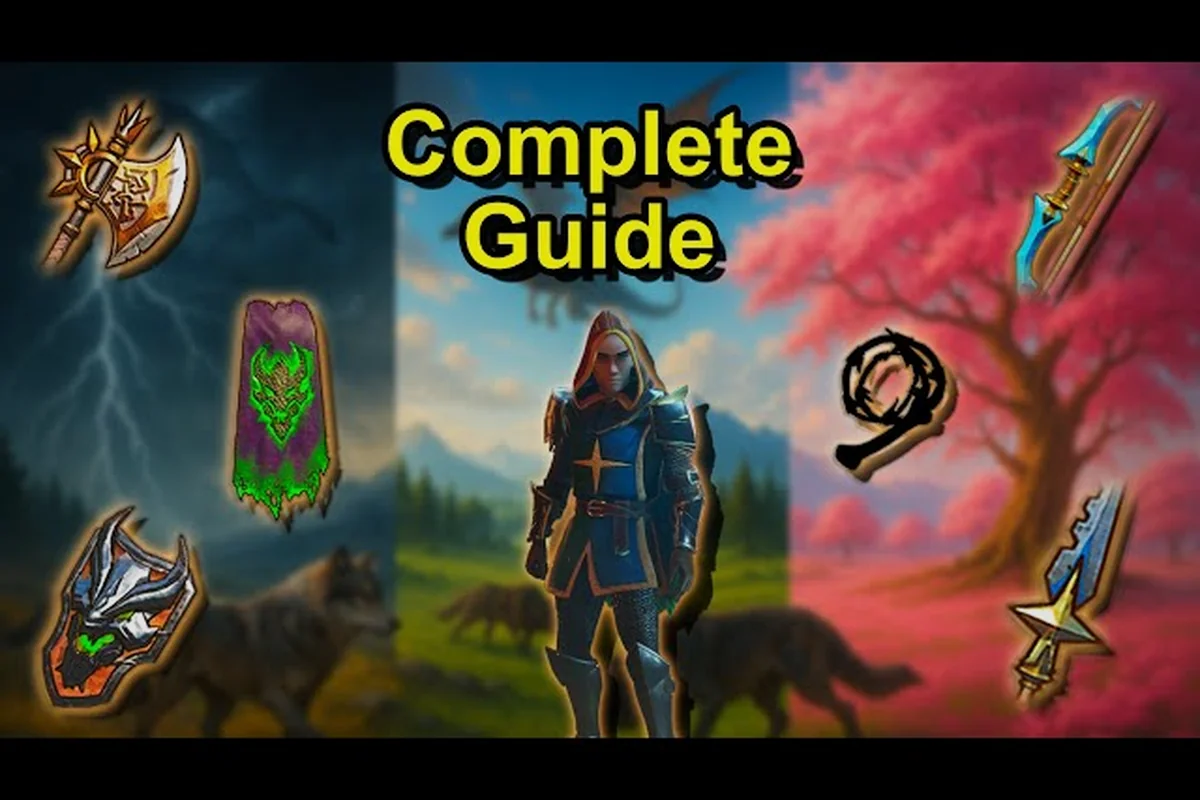
RuneScape: Dragonwilds Vestige Items: Unique Drops & Dragon Armor
Track every RuneScape: Dragonwilds vestige item, from the Black Knight Armour and Anti-Dragon Shield to red dragonhide, rune, and paladin armor sets.
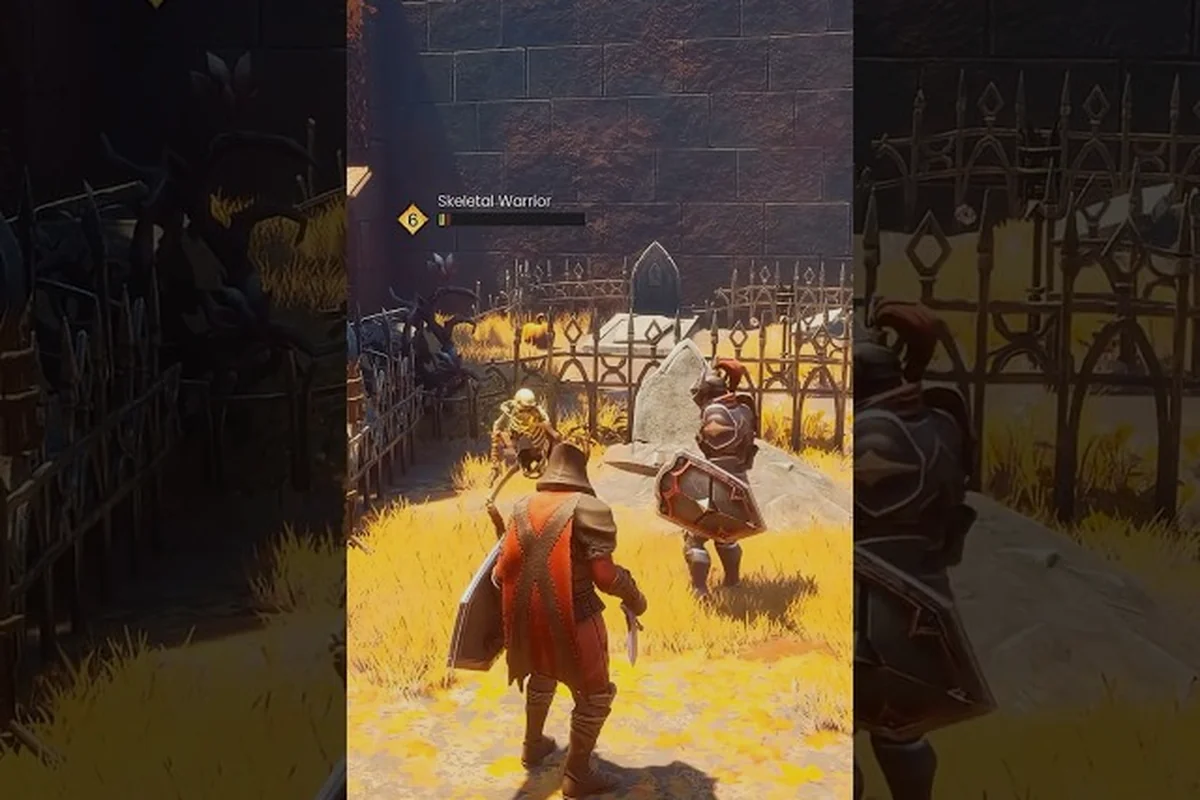
RuneScape: Dragonwilds Necromancer Armor: Capes & Jewelry Sets
Explore RuneScape: Dragonwilds necromancer armor alongside the Max Cape, Community Cape, Desert Cape, Zamorak Cape, and signature jewelry loadouts.
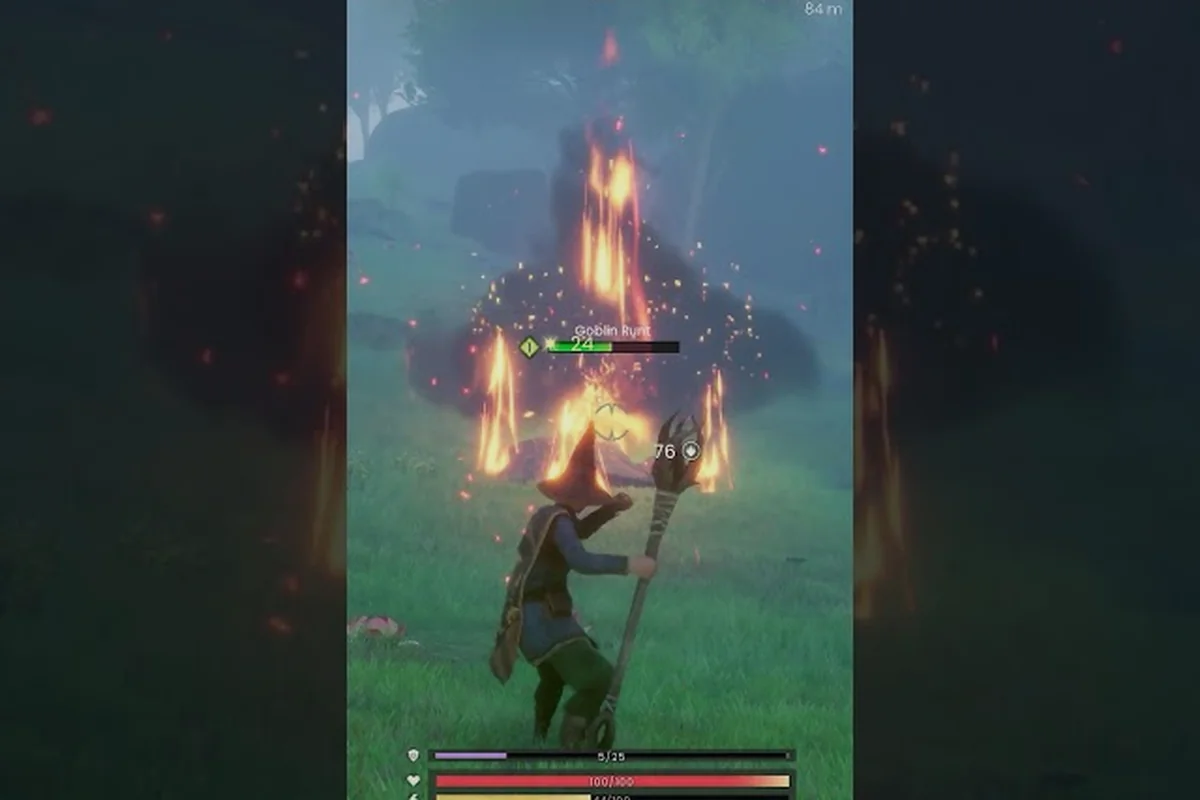
RuneScape: Dragonwilds Weapon Special Attacks: Whetstone & More
Unlock every RuneScape: Dragonwilds weapon special attack, learn how to enchant weapons with whetstones, and master the Fire Cape, Masterwork Whip, and Abyssal Whip.