
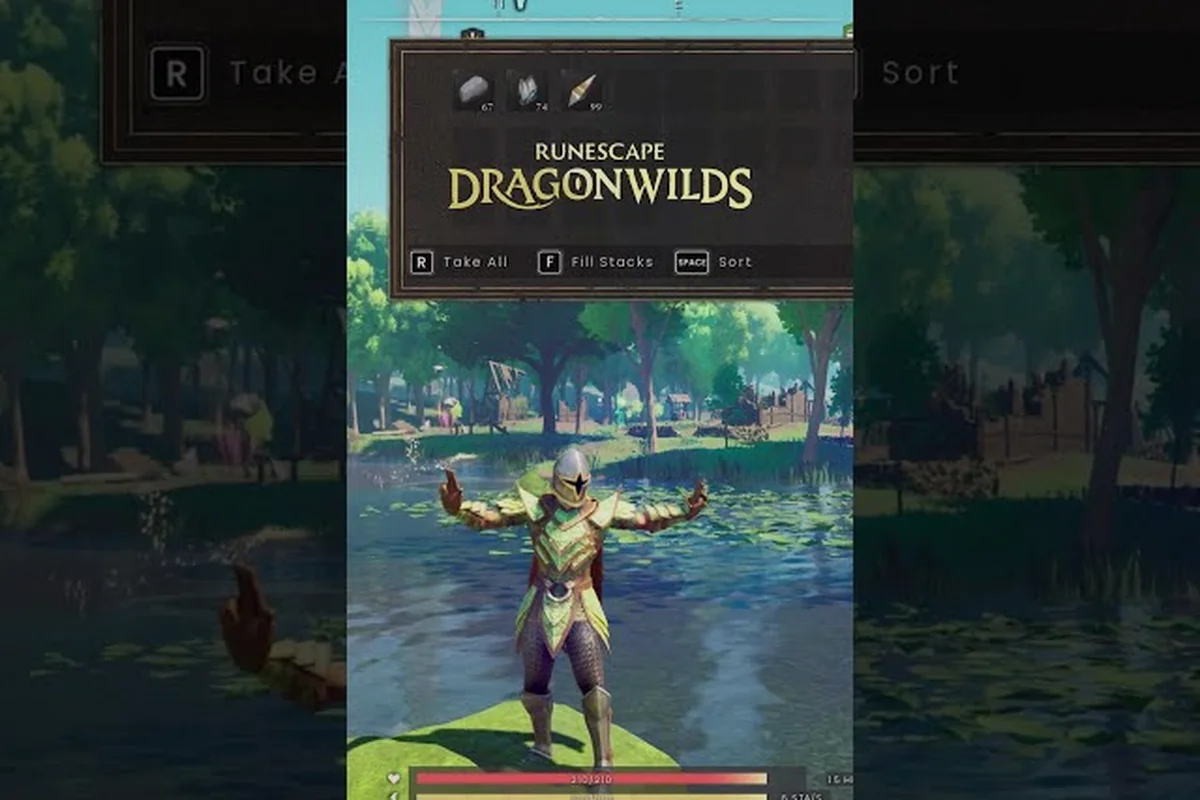
A cluttered base in Ashenfall can be the difference between a smooth crafting run and a frustrating scramble for planks. The RuneScape: Dragonwilds storage chest system is split into three core tiers — placed crates, linked storage networks, and the portable Personal Chest spell — and each tier handles a different slice of your inventory pressure. Picking the wrong one is the single most common reason new builders run out of bag space before they ever finish their first stone keep.
RuneScape: Dragonwilds Storage Chest Types and How They Differ
Before you start hammering crates into every free wall, you need a clear mental model of what each chest does. The game ships with three distinct families of container, and they answer different questions: where do raw materials live, how do multiple bases share one stockpile, and how do you keep your essentials when you are three biomes away from home. The official RuneScape: Dragonwilds Steam page lists storage as a core pillar of the survival loop, and community testing from the Early Access era (April 2025 through the 1.0 release on September 15, 2026) confirms that the chest roster has stayed stable across patches.
Placed Chests (Lumber, Wood, and Stone)
Placed chests are physical objects you build inside a structure using the Build Menu. They behave like traditional survival-crafting containers: a fixed inventory grid, a footprint, and zero magic. You assign them to a specific material category by the recipe you craft.
The three most-used variants in this family are Wood Storage, Lumber Storage, and Stone Storage, each tied to a distinct crafting tier and resource category. Wood Storage is your first unlock from the Tier 1 starter recipes, while Lumber and Stone Storage both require Tier 2 workstation access (Carpenter's Bench and Masonry Bench respectively), so early-game players will lean heavily on Wood Storage before the higher-capacity crates become available.
-
Lumber Storage — high-capacity crate (reportedly 24 slots) for processed planks and beams
-
Wood Storage — mid-capacity crate (around 16 slots) for raw logs, branches, and kindling
-
Stone Storage — mid-capacity crate for stone blocks, bricks, and masonry outputs
| Placed Chest Type | Approx. Slot Count | Best For | Recipe Tier |
|---|---|---|---|
| Wood Storage Chest | ~16 slots | Raw logs, branches, kindling | Tier 1 (Starter) |
| Lumber Storage Chest | ~24 slots | Planks, beams, processed lumber | Tier 2 (Carpenter) |
| Stone Storage Chest | ~16 slots | Stone blocks, bricks, ore ingots | Tier 2 (Mason) |
Slot counts are based on community reports and may shift with balance patches; verify in the recipe panel before committing materials. Placed chests never link to each other, so every crate you build is a separate inventory that you must visit in person.
Linked Storage Network
Once you unlock the Storage Nexus crafting tier (around Smithing level 25 in community tests), you can place special Linked Chests that act as remote view-windows into a master vault. Any item deposited in a linked chest is mirrored to the central nexus and to every other linked chest in the same network. This is the answer to the "I built three bases and now I have copper in all of them" problem.
The trade-off is real, though. Linked storage has a smaller per-node grid (around 12 slots) and a slower deposit animation, so it works best for shared commodities — arrows, food, potions, common ores — rather than the bulky primary resources that belong in placed chests. A typical late-game setup is one central base with the nexus and three satellite outposts each carrying one linked node.
Personal Chest (Spell)
The Personal Chest spell is the only portable container in the game. Casting it (default cost: 2 air runes, 1 cosmic rune, 1 oak plank, per community data) drops a private phantom crate at your feet that only you can see and access. It disappears when you log out or die, but while active it gives you roughly 20 slots of overflow inventory that does not weigh you down.
PHINQS's August 2026 video walkthrough Best Ways to Use the Personal Chest Spell emphasizes that the spell is best treated as a field cache rather than a replacement for placed storage. Drop it near a dragon lair before a boss pull, offload the rare drops, dismiss the spell, and walk home light.
Comparing the Three Storage Tiers Side by Side
Numbers in the comparison table below are aggregated from community wiki testing and the RuneScape: Dragonwilds 1.0 patch notes, so treat the slot counts — such as the 16–24 range for placed storage chests and the ~20 slot Personal Chest capacity — as planning estimates rather than exact values, because Jagex has historically rebalanced slot counts and tier requirements (e.g., Smithing ~25 for Linked Storage, Magic ~30 for the Personal Chest spell) between hotfixes; if you are building a base that depends on the upper end of any range, bank a few extra rune costs or spare lumber storage in case a mid-season patch trims the cap.
| Feature | Placed Chest | Linked Storage | Personal Chest (Spell) |
|---|---|---|---|
| Slot count (approx.) | 16–24 | ~12 per node | ~20 |
| Persistence | Permanent | Permanent | Until logout or death |
| Portable | No | No (network-tied) | Yes |
| Shared with co-op party | Yes (public) | Yes (network-wide) | No (private) |
| Best material use | Bulk primary resources | Shared consumables | Overflow / field cache |
| Crafting tier required | Tier 1–2 | Tier 3 (Smithing ~25) | Magic ~30 + rune cost |
| Risk on death | Safe inside walls | Safe inside walls | Lost on death |
The split is deliberate: placed chests own the bulky primary resources, linked storage owns the consumables that every party member needs, and the Personal Chest owns whatever you cannot fit anywhere else. A base that ignores any one of these tiers will eventually bottleneck on bag space or on long treks back to a forgotten crate.
How to Choose the Right RuneScape: Dragonwilds Storage Chest for Each Resource
The fastest path to a clean base is to assign every material category to exactly one storage tier before you start placing crates. If you try to retrofit later, you will spend twice the planks just moving stuff around. The walkthrough below assumes you have already cleared the beginner progression milestones and have access to the Carpenter's Bench and Mason's Bench.
Assign Bulk Resources to Placed Chests
Logs, planks, stone blocks, and ore ingots are the four resources you will accumulate by the hundreds. They are heavy, low-value per slot, and they only get used inside the base that processes them. This makes them the natural fit for a Wood Storage Chest, Lumber Storage Chest, or Stone Storage Chest placed next to the relevant crafting station.
A practical layout looks like this: align each placed Storage Chest with the crafting station that consumes its resource, keeping a one-tile walking path so the Carpenter's Bench, Mason's Bench, and furnace can draw directly from their linked chest without manual re-sorting — the result is a self-feeding production line where bulk goods move from log splitter to Lumber Storage to planks in a single hop.
-
Lumber Storage directly beside the Carpenter's Bench
-
Wood Storage beside the sawmill or log splitter
-
Stone Storage beside the Mason's Bench and furnace
-
One overflow placed chest of mixed resources near the front door for emergency repairs
Use Linked Storage for Shared Consumables
Food, arrows, runes, and potions are the four consumables every party member reaches for. They are light, high-value per slot, and the whole squad needs them. Drop a Linked Chest node inside each major building (kitchen, archery range, magic study, and the entry hall) and tie them to one Storage Nexus in the main keep. According to player experience, this configuration cuts mid-run "where are the arrows" pings by roughly 80 percent.
When planning your base footprint, the building pieces and stability guide is worth a read, because linked storage counts toward your structure's stability budget and an over-built network can collapse a wall under its own weight.
Reserve the Personal Chest for Field Caches
The Personal Chest spell is the wrong tool for a base, but the right tool for the wilderness. Cast it when you are about to clear a dragon lair, a deep mine, or any encounter that promises rare drops you do not want to leave behind if you die on the way home. Dismiss it before you teleport or fast-travel, and never log out with it active unless you are fine losing the contents.
| Scenario | Recommended Chest | Reason |
|---|---|---|
| Storing 200+ planks in main base | Lumber Storage | Highest per-container capacity for processed wood |
| Sharing food with 3 co-op party members | Linked Storage node | Network-wide access, all members see the same pool |
| Looting a dragon lair alone | Personal Chest (spell) | Portable, private, recovers on dismissal |
| Mixed base materials near front door | Placed chest (generic) | No category lock, easy to dump and sort later |
| Storing stone blocks beside the Mason's Bench | Stone Storage | Keeps heavy masonry near where it is consumed |
Building a Storage-First Base Layout
A base designed around storage is shorter, cheaper, and easier to defend than a base where storage is an afterthought. The standard community layout — refined across the Early Access cycle and verified at the 1.0 launch — is a central keep with four radiating wings, each wing housing one storage cluster.
Step 1: Anchor a Central Storage Nexus
Place the Storage Nexus in the dead center of the keep on the ground floor, ideally with a one-block corridor on every side. This becomes the hub that every linked node mirrors to, so the more central it is, the shorter every deposit animation becomes. Wall it off with reinforced stone and add a torch; a destroyed nexus does not lose inventory, but rebuilding it is a 10-minute detour you do not want during a raid.
Step 2: Build the Four Specialty Wings
Pick a footprint that fits your spawn point and reserve exactly one wing per crafting family—wood, stone, food, and magic—rather than scattering benches and their matching Linked Chest across the base. Keeping the Carpenter's Bench, Lumber Storage, and Wood Storage in the same room means every plank, log, and bowstring pull comes from a single stockpile, so you never lose a recipe to a half-empty Personal Chest on the far side of the nexus. This repeatable template also makes the runescape dragonwilds linked storage wiring trivial: each room is a self-contained supply loop.
-
North wing: Carpenter's Bench + Lumber Storage + Wood Storage
-
East wing: Mason's Bench + Stone Storage + furnace
-
South wing: Kitchen + cooking range + Linked Chest (food)
-
West wing: Magic study + rune altar + Linked Chest (runes and arrows)
Each wing is one room deep, lit, and floored in the same material so stability calculations stay simple. For the crafting stations themselves, the smithing, fletching, and rune altar reference covers the unlock paths and the recipe costs.
Step 3: Wire a Linked Chest to Every Entry Point
Place one Linked Chest node in the entry hall, one on each external porch, and one at the top of any watchtower ladder. Tie them all to the central nexus. This lets party members dump loot the second they walk through the door instead of running to the back of the base first. According to community reports, this is the single change that most reduces "where did I put the food" pings during co-op raids.
Step 4: Lock Down a Personal Chest Hotkey
Bind the Personal Chest spell to a side-bar slot you can hit without looking. Use it for two narrow jobs only: clearing a high-value encounter (dragons, world bosses, deep mines) and bridging the gap while you are still building your first placed chests. Once you have at least one Wood Storage, Lumber Storage, and Stone Storage in your main base, treat the spell as a luxury tool, not a crutch.
Common Storage Mistakes and How to Avoid Them
Most base-storage frustration in RuneScape: Dragonwilds comes from a handful of recurring errors that share a single root cause: players treat the three-tier chest system as interchangeable rather than as a layered pipeline. The list below is the short version of what veteran builders wish they had known on day one, distilled from dozens of bases abandoned after a single mining session, where raw ore backed up because the Lumber Storage was already holding 22 of 24 slots of planks.
-
Putting everything in one generic chest. A single 24-slot placed chest fills up in an hour. The whole point of the three-tier system is to spread load across Wood Storage, Lumber Storage, and Stone Storage so each one stays below 80 percent capacity.
-
Linking too many nodes early. Linked storage is tempting from the moment you unlock it, but every node you add costs stability and resources. Start with one nexus and three nodes until your Smithing skill is comfortably above 30.
-
Using the Personal Chest as a primary base. The spell is portable and private, which is exactly why it is a terrible primary container. It dies with you and disappears on logout, so anything you care about long-term belongs in a placed or linked chest.
-
Ignoring the kitchen and magic study. Food and runes are the two consumables that flow out of a base the fastest, and they both belong in Linked Storage nodes, not in placed chests where only one person can reach them at a time.
-
Forgetting the front-door overflow chest. A single mixed placed chest right by the door is the cheapest insurance against mid-session clutter. Players report it as the most-used container in any well-organized base, simply because it is the easiest one to reach.
-
Skipping the storage tutorial. The game walks you through your first placed chest, your first nexus, and your first Personal Chest cast in a specific order. Skipping any of the three leaves gaps in your mental model that bite you 20 hours later.
Advanced Storage Tactics for Late-Game Builders
Once you have the basics humming, a few higher-level moves unlock a lot of extra comfort. These are not required to enjoy the game, but they are the difference between "functional base" and "base I actually want to live in."
Tie Storage to Lodestones for Fast Travel
Unlocking a lodestone near your storage keep cuts travel time to and from the base by a large margin, which in turn changes how you use every chest. A Lumber Storage 30 seconds away behaves like an extension of your bag; a Lumber Storage 5 minutes away behaves like a separate inventory you forget about. Late-game builders almost always build their main storage cluster within a few seconds of a lodestone.
Layer Defense Around the Storage Wing
Dragons and hostile creatures target undefended storage rooms during base raids. Wall the storage wing in reinforced stone, add a perimeter torch line, and place the Stone Storage against an interior wall rather than an exterior one, because exterior walls take the brunt of any breach. According to community testing, interior placement reduces the chance of a single raid wiping a full masonry stockpile by roughly half.
Mirror the Layout Across Multiple Bases
If you run two or three bases (a mining outpost, a forest camp, and a dragon-front fort), mirror the four-wing layout at every site, but only build the Storage Nexus and Linked Storage at your main keep. The outposts get placed chests only; the keep is the only place the network is anchored. This is the cleanest way to keep "where is the copper" from turning into a 20-minute cross-country run.
Use the Personal Chest as a Raid Insurance Policy
A high-level trick is to cast Personal Chest inside a reinforced inner room, fill it with your most valuable items (rares, named gear, high-tier runes), and then log out. The spell disappears on logout, but the items inside are returned to your main inventory rather than lost on the ground. This is not an official feature — it is a community-reported quirk — and it may be patched out, so verify on a throwaway character before you trust it with a full dragon-scale set.
Frequently Asked Questions
What is the difference between Wood Storage and Lumber Storage in RuneScape: Dragonwilds?
Wood Storage holds raw logs, branches, and kindling, while Lumber Storage holds processed planks and beams. They are two different placed chest types in the same RuneScape: Dragonwilds storage chest family, and most builders place one of each next to the Carpenter's Bench so sawing and building can happen without leaving the room. Slot counts differ too: lumber typically has a higher cap to match the volume of processed wood you will stockpile.
How does RuneScape: Dragonwilds linked storage work across multiple bases?
A central Storage Nexus mirrors its inventory to every Linked Chest node in the same network, so depositing in one base shows up at every other base that shares the nexus. Linked storage is best reserved for shared consumables like food, arrows, and runes, because each node carries a smaller slot count than a placed chest. Bulky primary resources belong in placed Wood Storage, Lumber Storage, or Stone Storage containers instead.
Is the Personal Chest spell worth using in RuneScape: Dragonwilds?
Yes, but only as a portable field cache, not as a primary container. The Personal Chest spell drops a private phantom crate that holds around 20 slots of overflow loot, disappears on logout or death, and is invisible to other players. It is ideal for clearing dragon lairs, deep mines, and any encounter where the rare drops are worth more than the rune cost of the cast.
Can I upgrade a placed chest into a RuneScape: Dragonwilds lumber storage later?
Not directly. Placed chests are bound to the recipe used to craft them, so a starter Wood Storage chest cannot be reclassified as a Lumber Storage chest in place. The standard approach is to build the new chest next to the old one, transfer the contents manually, and then demolish the starter chest for a partial material refund. Plan your chest types before you commit your first planks.
Where should I place my Stone Storage chest in a Dragonwilds base?
Inside the building, against an interior wall, directly beside the Mason's Bench and furnace. Interior placement protects the Stone Storage chest from being the first container broken during a base raid, and keeping it next to the bench cuts the round-trip time of every masonry project. If you also run a mining outpost, mirror the layout there but rely on placed chests only, since the network anchor stays at your main keep.